
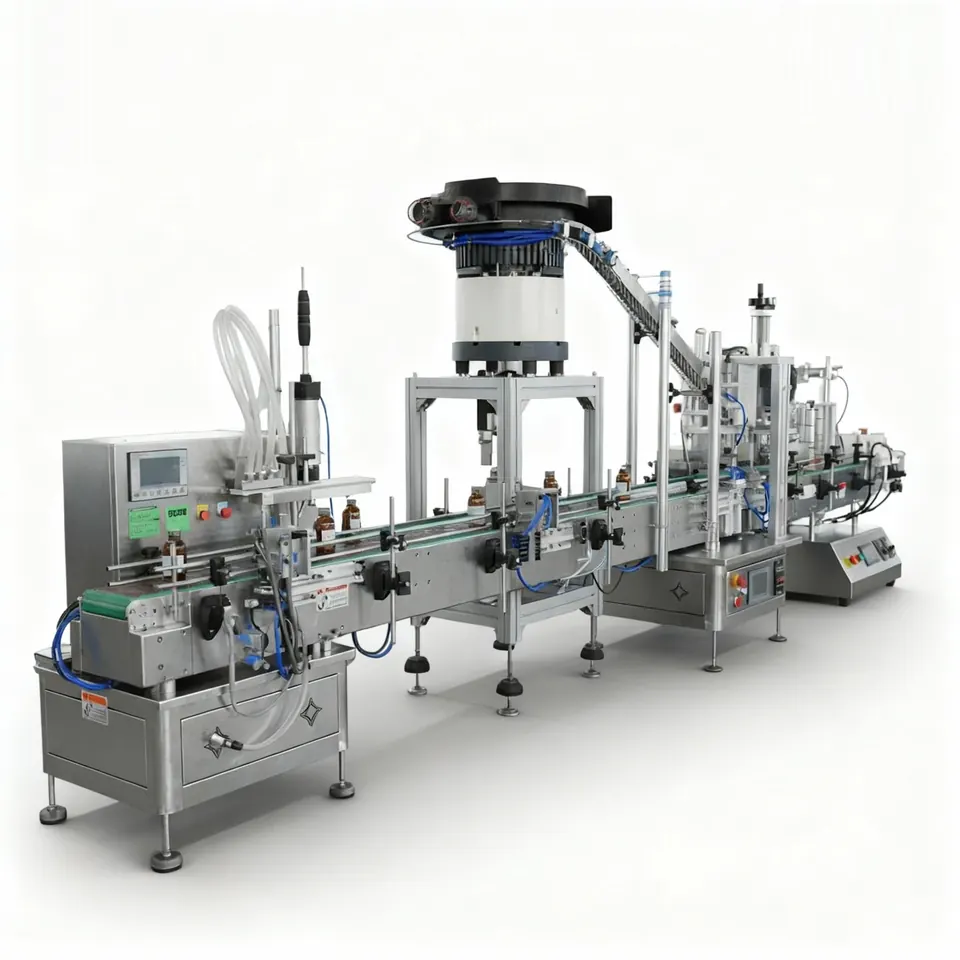
Key decisions
Define demand, time base and operating conditions together
- State required good packs per hour or shift, batch size, working time and change pattern.
- Separate ideal dosing cycle, demonstrated machine rate, sustainable line rate and accepted good output.
- Include product supply, pack loading, closure supply, quality sampling, changeover, cleaning and fault recovery.
- Use the slowest credible constraint and the complete line state—not nozzle count alone.
- Record the conditions behind every measured or calculated figure and confirm them with representative trials.
Use a clear hierarchy of output figures
An ideal cycle is a calculation or short observation under defined conditions. A machine demonstration rate is measured on a particular product and pack. A sustainable line rate includes normal interfaces, replenishment and operator tasks. Good output further excludes rejects and unreleased packs. These figures should not be used interchangeably.
Start from the customer requirement: saleable packs per shift or batch, production days, campaign length and required flexibility. Then work backwards through planned operating time and the constraints that can reduce it. This makes the machine choice traceable to production demand rather than a catalogue maximum.
| Capacity layer | What it represents | What must be stated |
|---|---|---|
| Ideal dosing cycle | Mathematical or component-level cycle without all production losses. | Dose, heads, cycle time, product and excluded tasks. |
| Demonstrated machine rate | Observed filler operation under a recorded trial condition. | Product/pack, duration, settings, start/stop treatment and interventions. |
| Sustainable line rate | Rate maintained with connected equipment and normal replenishment. | Line layout, buffers, operator tasks, product feed and test period. |
| Good output | Accepted packs after defined rejects and quality controls. | Reject criteria, sampling, rework and release method. |
| Shift output | Good output across available time after planned and unplanned losses. | Shift length, breaks, cleaning, changeovers, maintenance and availability assumptions. |
Calculate only what the assumptions support
For a simple indexing concept, an ideal rate can be expressed as containers per cycle multiplied by 60 and divided by cycle seconds. That arithmetic does not prove a production rate. It excludes product refill, container gaps, settling, downstream stops, quality checks and reject handling unless they are explicitly included.
When comparing proposals, require each supplier to state product, dose, container, number of heads, timing basis and excluded tasks. A slower-looking figure measured over a representative run can be more useful than a larger theoretical figure with no operating context.
Find the real production constraint
The dosing step may not be the bottleneck. Product mixing and transfer, container unscrambling, closure feeding, sealing dwell, labelling, coding, inspection, manual packing or case handling can set the line rate. Map each step and define buffer behaviour so one stop does not create uncontrolled pressure or lost product at the filler.
Product behaviour can also dominate. Foam may require staged filling or settling; a stringing paste may need slower cut-off; powder refill may disturb bulk density; a low-dose liquid may require a different metering range. Use the technology comparison before increasing automation around an unsuitable dosing principle.
Include operator and replenishment workload
List who loads containers, tops up product, supplies closures, removes finished packs, changes reels, checks quantity and handles rejects. Measure walking, lifting and refill frequency. A machine may achieve a high short-term rate while requiring more simultaneous operator attention than the planned staffing can provide.
For semi-automatic equipment, define the complete operator cycle rather than the dosing stroke. For automatic lines, confirm whether product and component feeds can sustain the line and how long buffers cover a routine intervention.
Validate capacity with representative evidence
Use product and pack trials to establish the dosing and handling window, then confirm the agreed condition at FAT. Record sequential output, stops, interventions, rejects, product refills and downstream blocks. Where site utilities or connected machinery are essential, reserve final sustainable-rate confirmation for SAT.
The FAT and SAT guide helps distinguish factory evidence from site-dependent output. Keep the final accepted figure tied to the tested products, packs, recipes and operating method rather than presenting it as an unconditional machine property.
Output information for machine selection and quotation
- Required good packs per hour, shift and batch—not only instantaneous speed.
- Shift length, breaks, campaign pattern, products and format-change frequency.
- Minimum, normal and maximum dose plus product behaviour.
- Container and closure supply method and planned staffing.
- Bulk product preparation, feed, refill and recovery method.
- Upstream/downstream machinery rates, buffers and stop behaviour.
- Quality sampling, reject, rework and finished-pack release rules.
- Trial/FAT/SAT conditions for demonstrating sustainable output.